Yes, nearly all stuffed animals can be repaired at home with basic tools and a little patience. Split seams, torn fabric, flattened stuffing, loose limbs, and even battery-powered AI plush toy issues are all fixable. Beginners can start with simple seam repairs, and more advanced restorations can extend a beloved toy’s life for years.
Key Takeaways
- Basic sewing fixes most stuffed animal issues, including split seams and small tears.
- Restuffing with polyester fiberfill restores a toy’s shape and firmness; always use child-safe materials for kids’ toys.
- Clean plush toys with spot cleaning or gentle machine washing; air dry only to avoid mold, fading, and fabric damage.
- AI plush toys can be repaired safely — always remove the battery and electronic module first.
- Our AI plush toy solution features a removable electronic case for easy shell repairs and cleaning.
Basic Stuffed Animal Repair Methods
Repair Tears, Holes & Open Seams
The ladder stitch (invisible stitch) is the best method for closing seams and small holes. It hides thread along fabric edges for a smooth, nearly invisible finish that holds up well under stretching and hugging.
How to do a ladder stitch:
- Thread a needle with color-matched 40-weight all-purpose thread and tie a knot. Use double thread for extra strength.
- Turn the toy right-side out and fold the seam allowance inward along the opening.
- Insert the needle from inside the opening at one end, so the knot stays hidden inside the seam.
- Take 3mm long stitches parallel to the edge, alternating sides to form a ladder pattern.
- Pull the thread gently every few stitches to close the gap without puckering the fabric.
- Tie off the knot inside, bury the thread end in the stuffing, and trim.
For larger holes, use a reverse applique patch: place a matching fabric scrap over the hole from the inside, tuck edges under, and stitch in place for a clean, reinforced repair.
Reattach Loose Limbs & Parts
Ripped arms, legs, ears, or tails require a reinforced repair. Use embroidery floss instead of regular thread for higher tensile strength, and a dollmaker’s needle to pierce thick plush layers.
Steps to reattach a limb:
- Thread a dollmaker’s needle with embroidery floss and tie a double knot.
- Push the needle through the body seam at the attachment point, exiting evenly on the opposite side.
- Stitch through the base of the loose limb, then pass through a small fabric button for reinforcement. Match button size to the toy: ½–¾ inch for small toys, 1 inch for larger ones.
- Repeat stitching through all layers 3–4 times to build a strong joint.
- Tie off securely, sink the knot into the limb, and trim excess floss.
For loose safety eyes: Turn the toy inside out and press the locking washer firmly over the ridged post until it clicks. For very young children, stitched fabric eyes are safer than plastic safety eyes, as they eliminate choking hazards entirely.
Restuffing & Cleaning to Extend Toy Life
A flattened, lumpy toy loses its shape and charm. Restuffing and cleaning restore a like-new feel and remove dirt, odors, and allergens.
How to Restuff a Stuffed Animal
Old stuffing breaks down over time, clumping and compressing. Beads or pellet fillings can also leak through seams, creating a choking hazard for young children.
Restuffing steps:
- Open a seam along the toy’s back or bottom with a seam ripper.
- Remove all old, degraded stuffing in small chunks. Patch any holes from the inside with matching fabric before refilling.
- Fill with high-quality polyester fiberfill (or certified non-toxic PP cotton for children). Avoid pellet fillings for kids under 3.
- Use 2–3 times the apparent volume of the toy for proper firmness — the finished toy should feel like a ripe peach, denting slightly and springing back.
- Work stuffing evenly into all limbs, ears, and tail, then close the seam with a ladder stitch.
How to Clean Stuffed Animals
- Spot cleaning: Mix 1 tsp mild detergent with 1 cup cold water. Wipe gently with a clean rag, then blot dry. Test an inconspicuous area first for colorfastness.
- Machine washing: For washable toys, place in a mesh laundry bag and wash on gentle cycle with cold water. Avoid hot water and high spin speeds, which damage stuffing and distort shape.
- Drying: Lay flat on a towel in a well-ventilated area. Turn periodically for even drying. Never use a hair dryer, radiator, or direct sunlight, which can fade colors or damage fabric.
- Non-washable / vintage toys: Use an alcohol-free, rinse-free sanitizer spray. For odor removal, place the toy in a sealed bag with ½ cup baking soda for 6–12 hours, then shake off and vacuum lightly.
Can You Repair an AI Plush Toy?
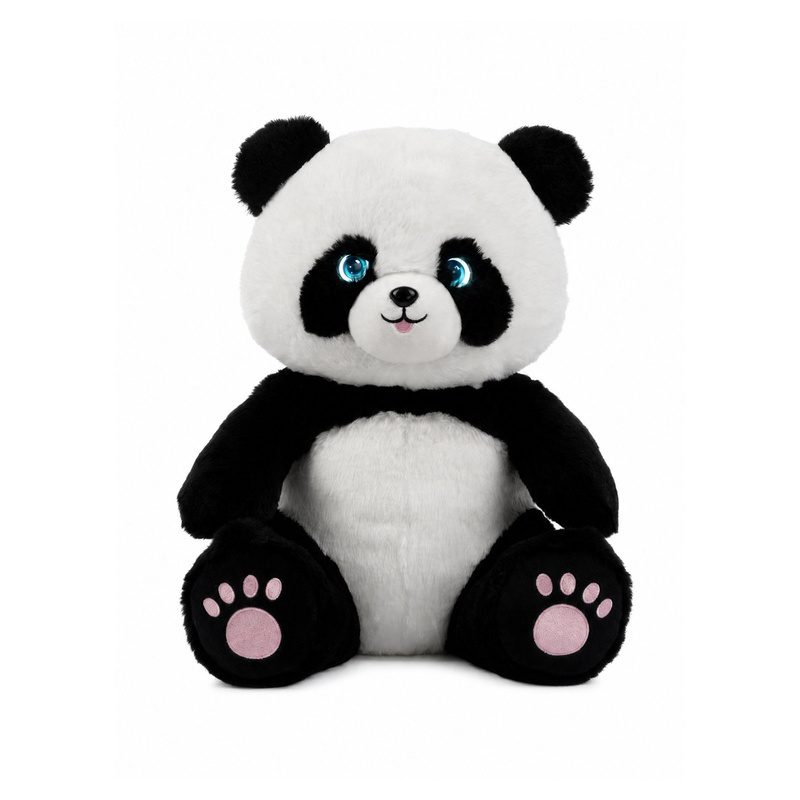
Yes, AI plush toys can be safely repaired at home — and our AI plush toy solution is designed to make this easy. Standard plush repair skills apply fully to the fabric shell; there are just a few extra steps to protect the electronic components.
What to Check Before Repair
First, rule out simple battery issues: a dead battery is the most common cause of a silent AI plush toy. Our AI plush toy solution features an easily accessible battery compartment and removable electronic case that can often be accessed without opening the full seam. If the toy still doesn’t work after a battery change, proceed with shell repair.
How to Protect Electronics During Repair
- Remove the battery and take out the removable electronic control case fully before cutting any seams.
- Note the position of the speaker, microphone, and wiring to avoid damage during stuffing replacement.
- Keep wires away from scissors and sharp tools. Hold control boards by the edges only.
Our AI plush toy solution’s modular electronic design means most shell repairs — seam fixes, restuffing, and cleaning — follow the exact same steps as standard stuffed animals. Once the electronic module is removed, you can even gently wash the fabric shell following standard plush cleaning guidelines.
Common AI Plush Component Repairs
| Component | Repair Note |
|---|---|
| Battery compartment | Most common issue; replace batteries first before opening the toy |
| Speaker / microphone | Check wire connections first; replacement modules are available |
| Button / touch sensors | Mechanical wear points; accessible once the electronic case is removed |
| Wiring | Vulnerable during washing; always remove electronics before cleaning |
FAQ
Can you fix a stuffed animal without sewing skills?
Yes. Beginners can easily learn the ladder stitch for small seams and holes. Practice on scrap fabric first, and use color-matched thread for a nearly invisible finish. Most basic repairs require only simple hand tools.
What is the best stuffing for stuffed animals?
Polyester fiberfill works well for most toys — it’s lightweight, durable, and affordable. Certified non-toxic PP cotton is a safe choice for children’s toys. Avoid pellet fillings for kids under 3 due to choking risk.
How do you clean a stuffed animal that can’t get wet?
Use an alcohol-free, rinse-free sanitizer spray, then air dry fully. For odor removal, place the toy in a sealed bag with baking soda for 6–12 hours, then shake off and vacuum lightly.
Can you repair an AI plush toy at home?
Yes. Our AI plush toy solution features a removable electronic module that makes shell repairs simple. Always remove the battery and electronic case first, then repair the fabric shell like a standard stuffed animal.
Are safety eyes safe for young children?
Safety eyes with locking washers work for most toys, but they can loosen over time. For children under 3, stitched fabric eyes are the safest option, as they eliminate choking hazards entirely.